My First Photoshop Project
Skills I used in this project
YouTube was the first skill I was able to learn. I learned how to make designs by looking up videos of other photographers and figuring out how to use different tools.
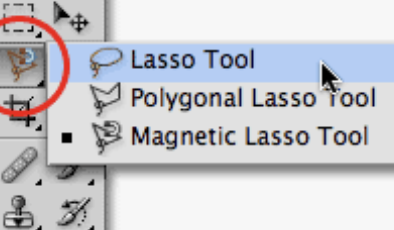
The Lasso tool in Photoshop. Able to cut out specific figures in the image and make figures pop out.
How to make lines in Photoshop glow and make an image look 2D.
Understanding how layers work in Photoshop and how to make one; learning how important it is to use them and understand where layers go.



Process one of the project
First, I had to buy my tools. I used an X-Acto knife to cut up black cardboard that I used as the base for my project, which was 16×5. Used a ruler to measure all sides and make them the same size. Next, I cut up three small squares to go underneath the images I made in Photoshop, all 4×4.
Process two of the project
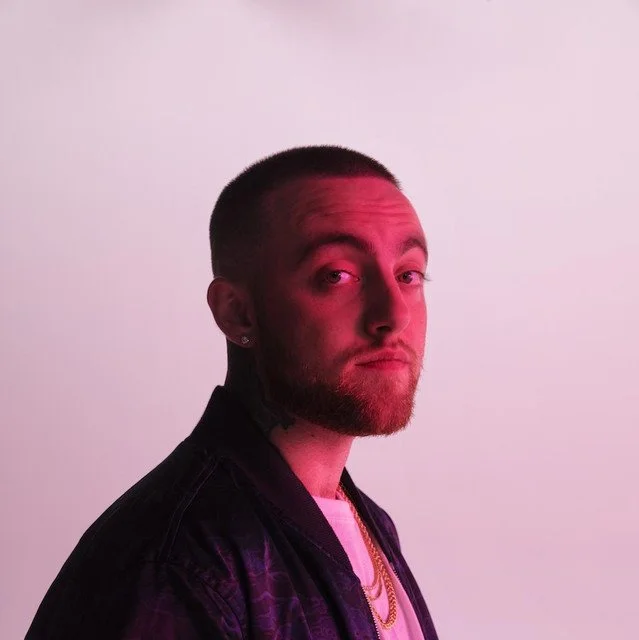
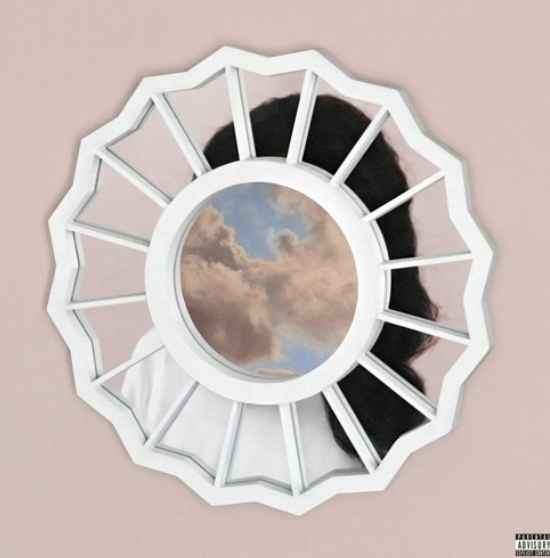
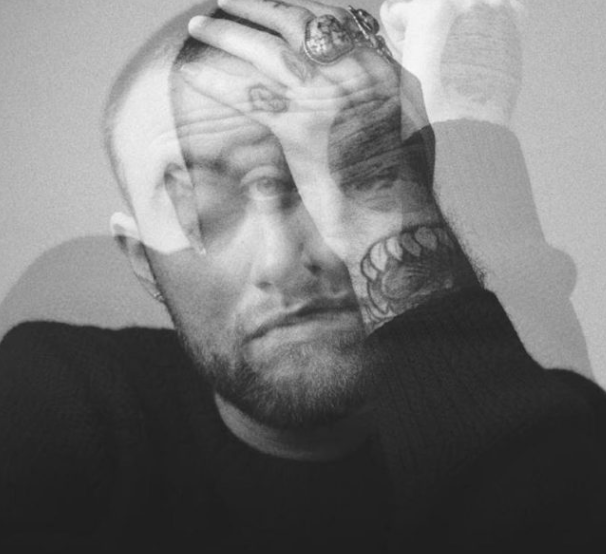
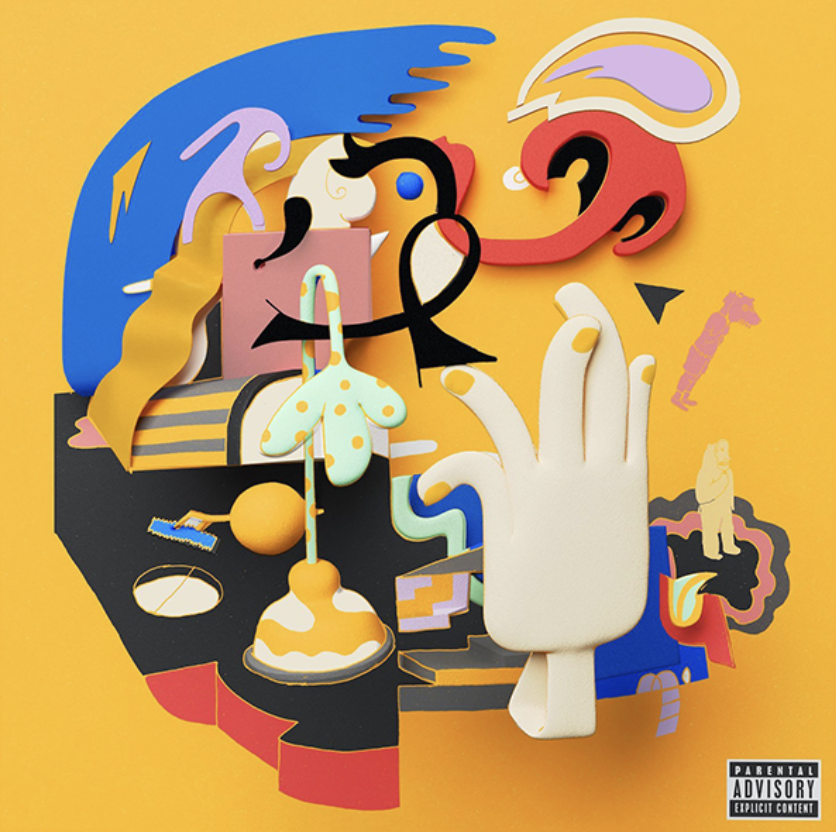
Next came the Photoshop part. I had to pick one famous person and select an image I wanted to recreate three times in my own design. I decided to do Mac Miller, who is a famous music artist who passed away. Mac Miller is one of my favorite artists, so I decided to do him and use this famous photo of him on the left. When I knew I was doing Mac, I decided to recreate His album covers and use them as my inspiration. Using the same color and idea of these three albums, I was able to recreate his portrait image. Using Photoshop.
I made the first image a neon pink triangle surrounding his face. This process took the longest, having to start from scratch and doing my own research on how to make this work. Watching YouTube and making sure I did all my steps correctly. This made him look 2D, just like how the album is pink and has a shape surrounding a face.
For the second image, I used an old photo of him singing, blended it into his face, and made the portrait black and white. This process was the easiest; I just had to blend the images together using the erase tool.
For the last image, I used the album cover and filled in mac miller’s face with art that was on the album cover by using the Lasso tool in Photoshop.
Process three of the project
For the final part of the project, I had to write down every step it took to make these designs. I glued the steps to the back of the cardboard. Printed out the images I made, then glued them on.